Build a Budget PC: Parts, Priorities, and Pitfalls
A practical 2026 guide to building a budget PC: choose the right parts, set smart priorities, dodge compatibility traps, and stretch every dollar.
Plan the Build Around Real Needs
Start by defining the real jobs your PC must do and let that drive every choice. Prioritize workload, resolution, and upgrade path rather than chasing buzzwords. For competitive 1080p gaming, steer funds toward the CPU and GPU that hit consistent frame targets; for content creation, value extra cores, RAM capacity, and faster storage. Sketch a budget where the graphics card and processor take the largest share, while you avoid overspending on flashy cases, RGB, or features you will not use. Prevent a bottleneck by pairing components that match performance tiers, and confirm compatibility: CPU socket, motherboard chipset, RAM type, and case clearances. Plan cables, cooling, and desk space early, noting monitor input options and refresh rate. Consider the used market only with proof of condition and return options. Keep taxes, shipping, and thermal paste or extra fans in mind. A clear plan minimizes surprises, safeguards your wallet, and ensures a build that delivers the performance you actually need.
Choose a CPU and Motherboard Wisely
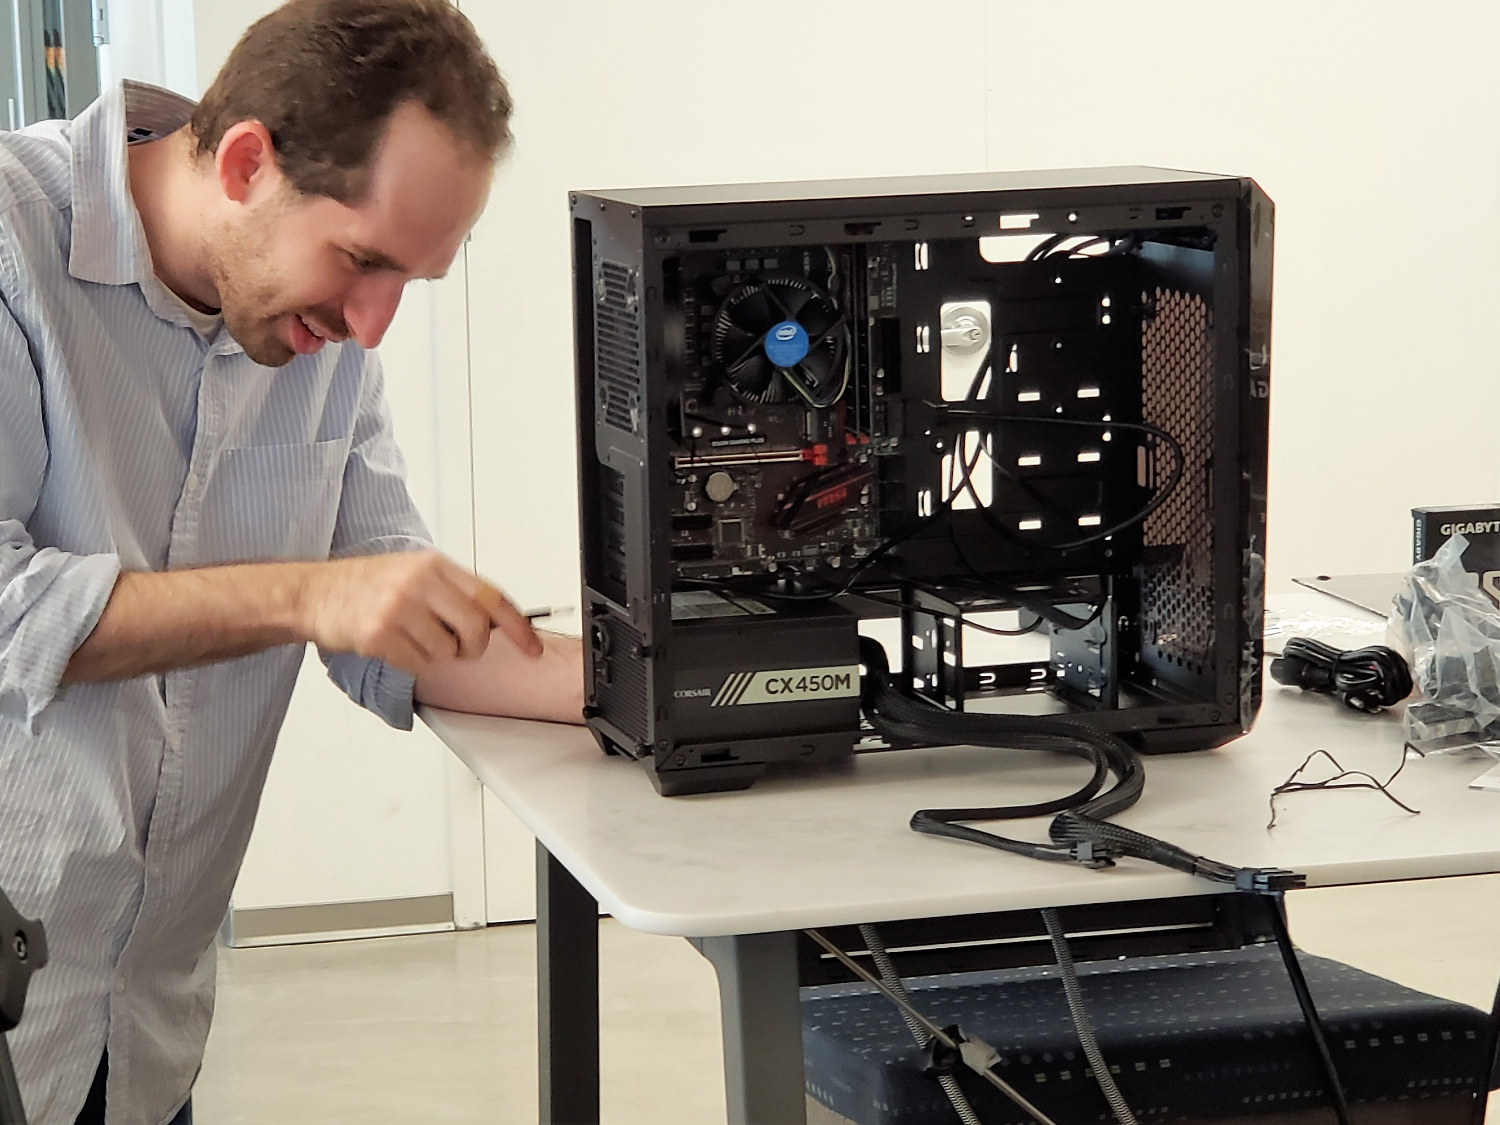
Your CPU sets the tone for responsiveness and productivity, so balance single-thread performance for gaming with core/thread count for multitasking and creative workloads. Look for a platform that supports the features you care about: multiple M.2 slots, ample USB, and robust PCIe connectivity. Check the motherboard's VRM quality for stable power delivery, especially if you plan light tuning, and verify memory support so your chosen RAM speed is attainable. Align the socket with your CPU and confirm that a BIOS update is not required before the chip will boot. Decide on form factor: ATX for expansion, microATX for value, or mini‑ITX for compact builds with tighter thermals and fewer slots. If you are delaying a GPU purchase, consider a CPU with integrated graphics for basic display output. Avoid paying for overclocking features, Wi‑Fi modules, or premium audio if they do not serve your goals—function first, frills later.
Right-Size the Graphics and Visuals
Match your GPU to your display target, not to hype. Start with resolution and refresh rate, then estimate the performance tier that sustains your preferred settings. More VRAM helps with high‑resolution textures and larger worlds, while efficient cooling and reasonable power draw reduce noise and PSU demands. Check your case's GPU length clearance and the number of power connectors required. For esports, favor steady frame times over ultra settings; for cinematic games, mix medium‑to‑high presets with image scaling and adaptive sync to smooth motion. Buying used? Test under sustained load, look for clean thermals, and insist on some form of warranty or return window. Avoid overspending on top‑tier cards if your monitor is modest; the money might work harder in CPU, SSD, or memory upgrades. Calibrate expectations: a well‑matched GPU paired with a capable processor, tuned settings, and smart cooling often beats a lopsided, hotter, louder build.
Memory, Storage, and Power Matter
Underinvesting in these essentials erodes real‑world speed. Choose dual‑channel RAM in a matched kit to ensure stability and bandwidth. Aim for capacity that fits your workload—gaming and everyday use benefit from ample memory, while heavy editing or virtualization may warrant more. Verify your platform's memory standard and enable XMP/EXPO for rated speeds. For storage, put the operating system and key apps on a NVMe SSD for snappy loads, reserve a SATA SSD for game libraries, and consider a hard drive only for bulk archives. Prefer drives with decent endurance and a DRAM cache for consistent performance. The power supply is your build's foundation: select reputable units with sufficient wattage headroom, solid protections (OCP/OVP/OPP/SCP), and good efficiency. Semi‑modular or modular cables simplify management and airflow. Underspec the PSU and you risk instability; overspec wildly and you waste money. Pick quality once, and your system will run cooler, quieter, and longer.
Case, Cooling, and Common Pitfalls
Good airflow turns a budget build into a quiet performer. Favor cases with ventilated fronts, dust filters, and clear component clearances. Plan airflow: front and bottom intake, top and rear exhaust, and maintain gentle positive pressure to reduce dust. Choose a tower air cooler or a compact option that fits your case's height; apply a thin line or pea of thermal paste and tighten evenly. Place standoffs correctly to protect the motherboard, and route front‑panel headers methodically to avoid miswires. Ground yourself and build on a non‑conductive surface to minimize ESD risk. After first boot, update BIOS, enable XMP/EXPO, set fan curves, and confirm Resizable BAR or similar features if supported. Stress‑test CPU, GPU, and memory while monitoring temperatures and acoustics. Tidy cables to improve cooling and future serviceability. Keep spare screws, box accessories, and receipts. A careful assembly and validation routine prevents the most common pitfalls—and protects your budget.